Bag made with
Art Gallery Fabrics Modernology warm and oval elements.
The fabrics are amazing to sew with! I love this fabric so much. I would love to make a million things out of this and I would love every color in the Oval elements! My sister -in-law Theresa, helped me take this photo and she might take the bag!
SEWING PATTERN Simplicity 1823
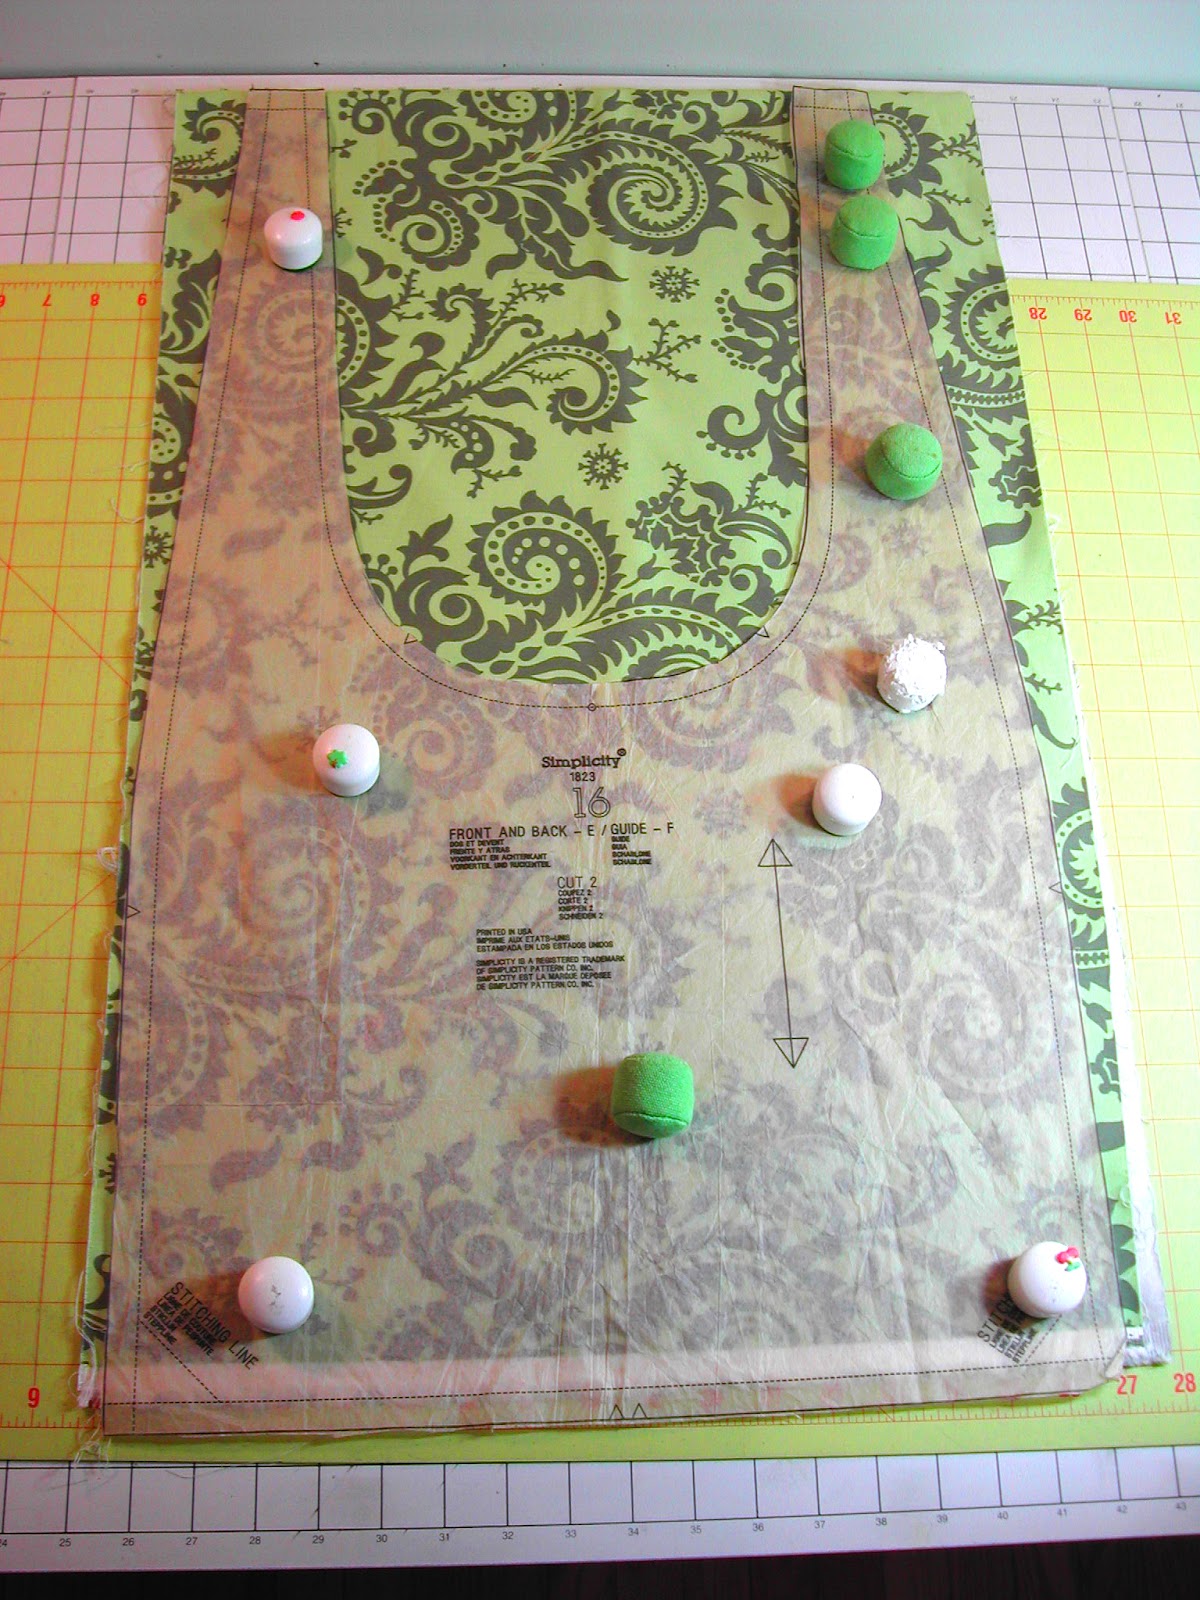
1. Cut out bag ---- 2 pieces MAIN print ---- 2 pieces LINING
(about 1 yard of fabric for both lining and Main print)
2. I was a little bit short on fabric for my main print so I left the selvage. I will hide it when I sew it.
3. Cut out Pocket 6 1/2 ' x 7 1/2 ' * (this is not in the pattern) from left over lining pieces .
4. Stitch pocket (right sides together) like this: see graphic above leave hole for flipping open
Stitching the pocket in this way will make a perfect fold in when you turn it right side out.
5. top stitch pocket with 2 rows or use decoritve stitch.
6. pin pocket to lining and stitch pocket see graphic above for reinforcement. (See
HERE.
7. Sew Main print RIGHT Sides together then stitch Lining the same way but leave a hole on the side of lining about 6.5 inches to turn bag out through the lining hole.

8. press seams open on LINING and MAIN
9. Turn MAIN Right side out and place inside LINING. Pin very well all the way around. Stitch them together leaving 2 inches open from handle.
(leave open 2 inches away both LINING AND MAIN away from handle) makes sure to back stitch here.
10. Clip curves and pull bag through opening in the side LINING to turn RIGHT side out. Use a chopstick if necessary to pull handle through.
11. Turn handles in this way RIGHT SIDES TOGETHER.
PIN well matching seams.
12. Handle should look like this , turn opening in and Press well.
13. Press well all the way around.
14. Top stitch all the way around, I opened my stitch length for this.
15. OPTION sew in velcro for closure. I cut my velcro 2 inches and stitched it after the top stitch line in the center inside of the bag. (It is good to use a velcro color that compliments the bag. I think tan, pink white and black are the available colors.)

Congratulations YOU ARE DONE!!!!!!!! Hopefully it only took a couple hours. Now time to fly!
Hope you enjoyed this tutorial. Love, Frances
Fabrics are AMY BUTLER - "Nigela"and "Its A chick thing" Designed exclusively for Wilmington Prints by Design Trends.