Better late than never! Is my new moto. I am finally posting pictures of quilt market spring 2016 Salt Lake City Utah and its now one month later. I am sorry it took so long to post however I needed some time to recover from what was a grueling schedule. I was so nervous going to quilt market since it had been 2 years since my last market and the second time doing a full 10 x 10 booth after my "Safari Moon" Collection. I was now launching a new fabric line with Quilt Jane and with MODA. Very exciting yet we had a lot of work prepping for this show.
Downtown salt lake city convention center
Before leaving for quilt maket Jane (Quilt Jane Jane Davidson) had a few hours of a layover so we met Amy Sinibaldi designer for Art Gallery and her company is called Nana and Co. We had brunch near the airport.
Our Quilt market booth was #605 wish I could charge room service to it. We had gotten the floor put in and Jane was already exhausted. Wake up Jane we have a whole booth to make!
I was acting a bit stir crazy and anxious to get it set up after weeks of sewing.
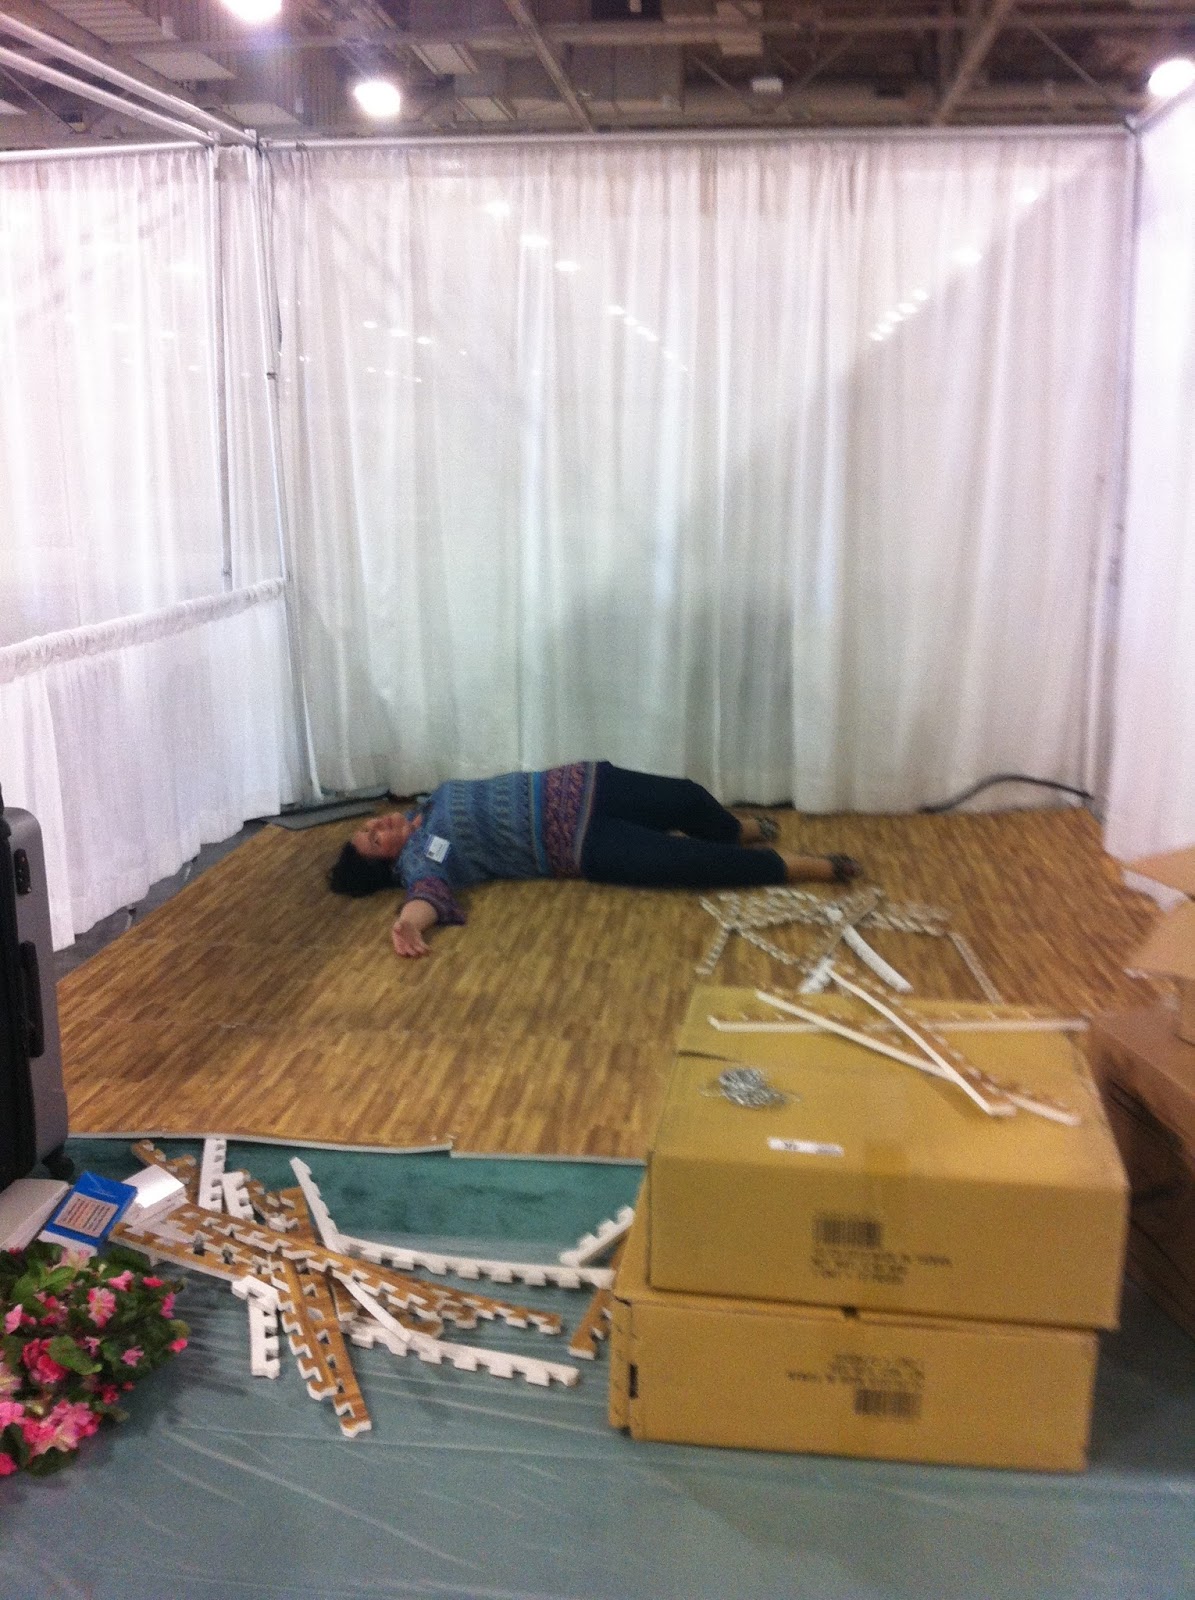
Floor is in but look at our boxes ... drum roll please...
TADA!
Moda designers Shann Orr and Lyndia Nelso setting up their booth
The audience waiting for Moda School house presentation
I was excited to be one of the "faces of Moda" on their wall
Jane and I in our booth day 2
Patty Vergon Made our Baltimore Sea Quilt and Sheryl Zurek quilted it.
Mario is the rep for Moda in the La Area, He is sporting Karen Turchans bag that she made for us.
Nancy Helpinstill helped us and made some darling things for our booth including this adorale starfish.
We all loved Emily Herrick's quilt made with actual 50 shades of grey.
loved these decorative bindings
Amy Butler always has an incredible booth
So many amazing booths and things to see at market I so regret not taking more pictures but it was so overwhelming.
I kidnapped Sacy Hsu's baby chick from her new collection Farm Fun it is so adorable!
Finally had to fly back home and bummped into the incredibly sweet and talented Betsy Chutchian.
And we hammed it up and bonded at the airport.